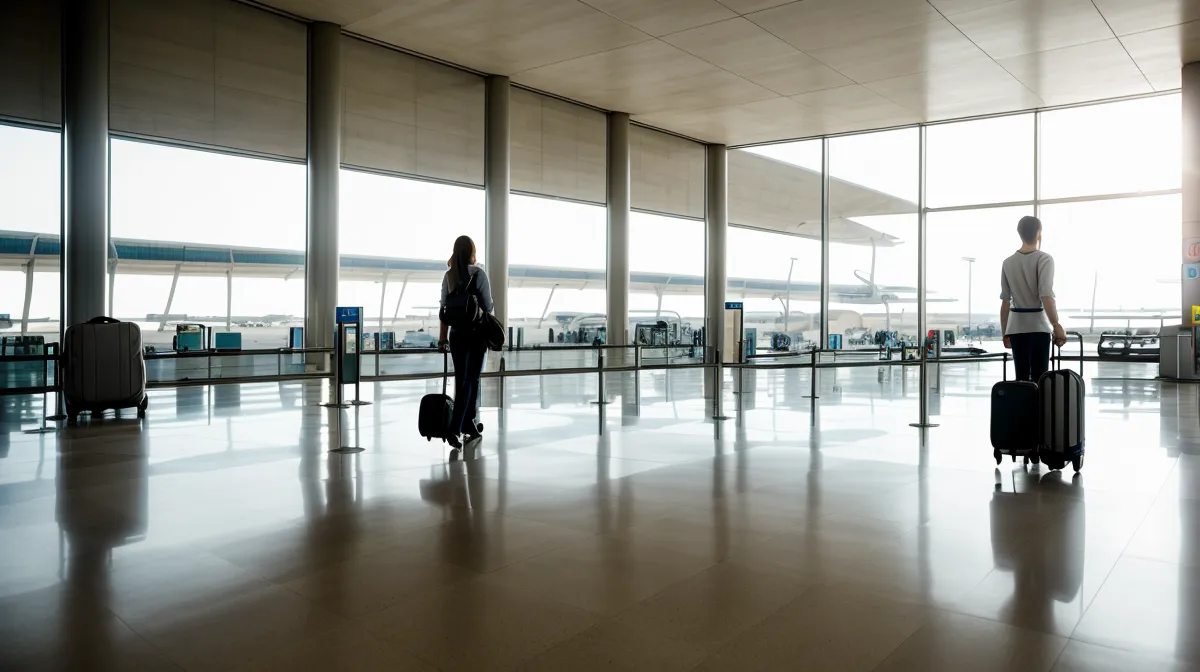
Late at night at the Indianapolis airport, the silence is usually something I appreciate. After a four-hour delay and a middle-seat squeeze that left my lower back questioning all my life choices, the empty terminal is a sanctuary. Or it should be. But late last November, that silence was shattered by the distinct, embarrassing screech of a seized wheel. Every few feet, my bag would give a rhythmic, high-pitched yelp that echoed off the terminal walls, making the short walk to the parking garage feel like a mile-long drag of shame.
I’ve been doing this for over a decade. I know the sounds a bag makes when it’s healthy—the low, satisfying hum of a four-wheeler on polished concrete. This wasn't that. This was the sound of a tool that had finally reached its breaking point. It’s a sensory experience that stays with you: the smell of hot friction and the vibration vibrating up the handle when a wheel flat-spots on a concrete sidewalk. If your bag is drifting to the left like a shopping cart with a grudge, you’re already in the danger zone.
The Reality of the Road-Warrior Grind
Most people treat luggage like a disposable commodity. They buy a bag for a wedding in June, shove it in a closet, and pull it out for a beach trip in December. For those of us living in the regional circuit, a carry-on is less of a suitcase and more of a daily driver. It’s the car you commute in, not the SUV you rent for a once-a-year road trip. And just like a car, the tires are the first thing to go. You wouldn't throw away a car because you need a new set of Michelins, yet I see people ditching perfectly good frames because a fifty-cent bearing decided to quit.
By the time I got home on one snowy evening in February, the wheel was completely dead. It wasn't just stuck; it had flat-spotted from being dragged across the asphalt. Back in Indy, we deal with a special kind of hell: salt and slush. That gray, briny cocktail gets inside the ball bearing housing, dries out, and turns into a grinding paste. Add in a decade of picking up stray carpet fibers and human hair from every terminal from O'Hare to LaGuardia, and you have a recipe for total mechanical failure.
I sat on my garage floor, looking at a bag that had cost me three hundred dollars three years ago. The frame was fine. The zippers were holding. But the wheels—the very thing that makes the bag a tool rather than a weighted box—were toast. I had two choices: contribute to the landfill or perform surgery.
The Surgical Approach: Why Cleaning Isn't Enough
The internet is full of well-meaning advice about WD-40 and compressed air. Let me save you the trouble: if you’ve been flying every other week for years, cleaning is a fool’s errand. You can spray all the lubricant you want, but it’s just going to turn that internal debris into a sticky sludge. The internal truth of luggage repair is that by the time you notice the screech, the housing is likely compromised. This is where my contrarian streak kicks in: don't just fix the wheel; you should proactively replace the entire wheel housing assembly. Worn-down casing plastic inevitably leads to structural failure regardless of bearing health, and once that housing warps, no amount of grease will make it roll straight again.
The first hurdle is the hardware. Most mid-range luggage—the kind you buy because it’s a 'good deal'—uses rivets to secure the wheel housings. These aren't meant to be serviced. They are meant to be assembled once by a machine and forgotten. To get them out, you need a drill. I remember the frustration of realizing a 1/4-inch drill bit is just slightly too large for the rivet head, nearly marring the plastic housing as I tried to force the issue. You have to be precise. You’re looking for the sweet spot where the rivet head pops off without eating into the bag’s frame.
Once I got the factory rivets out, the gritty reality became clear. There was a surprising amount of hair and debris wrapped around the 6mm axle—stuff no amount of WD-40 could ever reach. It was a matted, greasy ring of travel history that had effectively fused the wheel to the housing.
The Polyurethane Upgrade
If you're going to the trouble of drilling out rivets, don't replace the old wheels with the same cheap plastic ones the manufacturer used. Those stock wheels are usually hard plastic, which is loud and transmits every vibration from the sidewalk directly into your wrist. Instead, look for polyurethane wheels—specifically those with an 82A durometer rating. These are essentially high-end inline skate wheels. They provide significantly more shock absorption on uneven pavement than standard hard plastic wheels, turning your bag from a rattling cage into a silent glider.
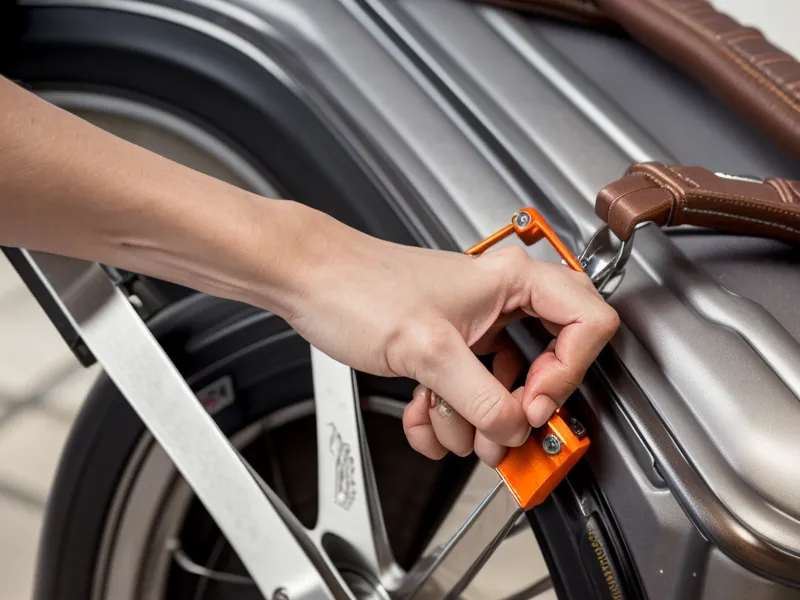
For the replacement, I used a standard 608RS bearing size, which is the industry standard for skateboards and high-end luggage alike. They’re sealed, which means the salt and airport grime have a much harder time getting inside. I swapped the 6mm axles for high-tensile bolts that use a 4mm hex key. This is the crucial part: by using hex bolts instead of rivets, I’ve made the bag infinitely serviceable. If a wheel gets gunked up again in two years, I can swap it out in five minutes with a multi-tool while waiting for my Uber.
It’s about making the gear work for you, rather than being a slave to the manufacturer’s planned obsolescence. I’ve gone through enough bags to know that the marketing talk about 'aircraft-grade aluminum' doesn't mean much if the wheels are the same ones they put on a grocery store cart. When I was looking at Briggs and Riley vs Travelpro for Heavy Business Use, I noticed that the higher-end lines actually use screw-in axles for this exact reason. They know that if you use a bag enough, you will eventually need to change the tires.
The Silent Satisfaction
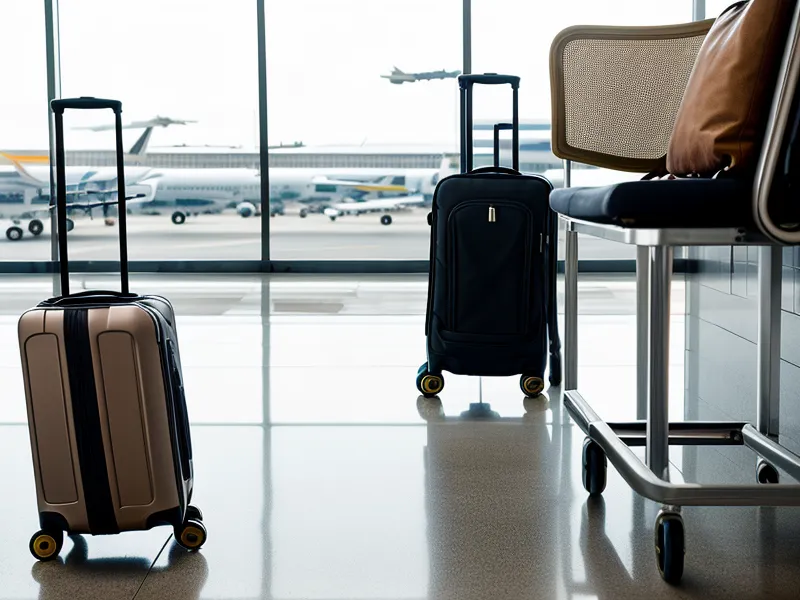
After about a dozen trips with the new setup, the difference was night and day. By mid-April, I found myself walking through the terminal with a silent, gliding bag. There’s a quiet satisfaction in knowing that my gear isn't just 'fixed,' it’s actually better than it was on day one. I’m no longer the person making a scene in the quiet morning hours at IND. I’m just another traveler, moving without a sound.
The repair cost me about twenty bucks in parts and an hour of my time on a Sunday afternoon. Compare that to the three hundred plus for a new bag, and the math starts to look very attractive. But more than the money, it’s the reliability. I know exactly how those wheels are attached. I know the 608RS bearings are rated for speeds far higher than I’ll ever achieve sprinting for a gate in Atlanta. I've turned a potential liability into a piece of equipment I can trust for another five years of regional hops.
If you’re looking at your current bag and wondering if it’s worth the effort, take a look at the wheels. If they’re pitted, flat-spotted, or screeching, don't wait for them to fail in the middle of a trip. A little preventative surgery goes a long way. You can see which bags I’ve found to be the only carry-ons still rolling after a year on the regional circuit, but even the best of them might need a wheel swap eventually if you’re hitting the road as often as I am.
In the end, luggage is just a tool. And like any tool—whether it’s a kitchen knife or a daily driver—it needs a little maintenance to stay sharp. Don't let a seized bearing be the reason you give up on a perfectly good bag. Grab a drill, find some skate wheels, and give your carry-on a second life. Your ears (and your wrists) will thank you when you’re walking through that empty terminal at midnight.